You don’t need a workshop or a tool belt to make your home look amazing. Just a free afternoon, a little patience, and maybe a podcast in the background. These beginner-friendly DIYs are simple, affordable, and wildly satisfying—aka perfect for renters, new homeowners, and commitment-phobes. Ready to wow yourself?
1. Paint An Accent Wall Without The Drama
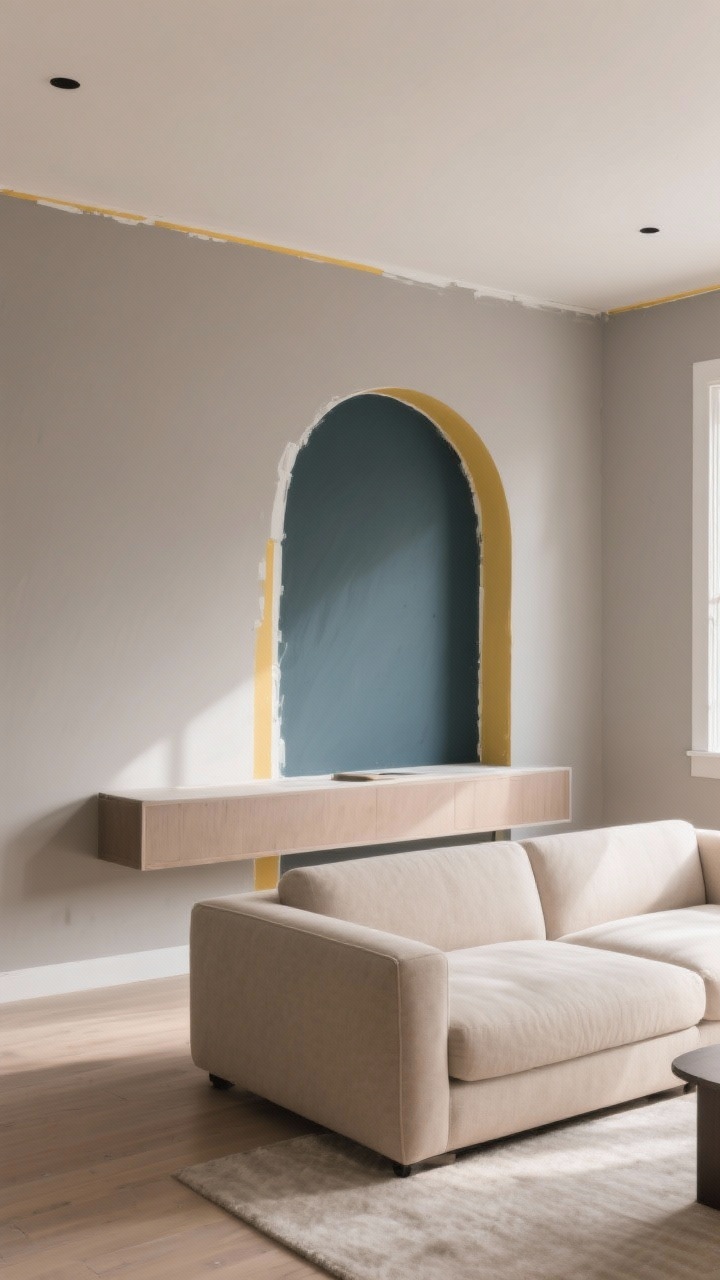
Paint is the quickest, cheapest way to change a room’s vibe. An accent wall gives you color impact without committing to the entire space. Choose a wall that naturally draws the eye—behind a bed, sofa, or the wall you see when you first walk in.
How To Nail It
- Pick a color family: Go two to three shades darker than your main wall color for grown-up contrast.
- Tester first: Swatch at least three colors and check them morning, noon, and night.
- Prep matters: Wipe the wall, fill holes, and use painter’s tape like a pro. Crisp lines = instant credibility.
- Use a roller for the field and a 2-inch angled brush for edges. Two coats, thin layers.
Want more oomph? Try a color-blocked arch behind your bed or a bold rectangle behind a console. It’s artsy without being “I live in a gallery.”
2. Peel-And-Stick Wallpaper For Rental-Friendly Magic
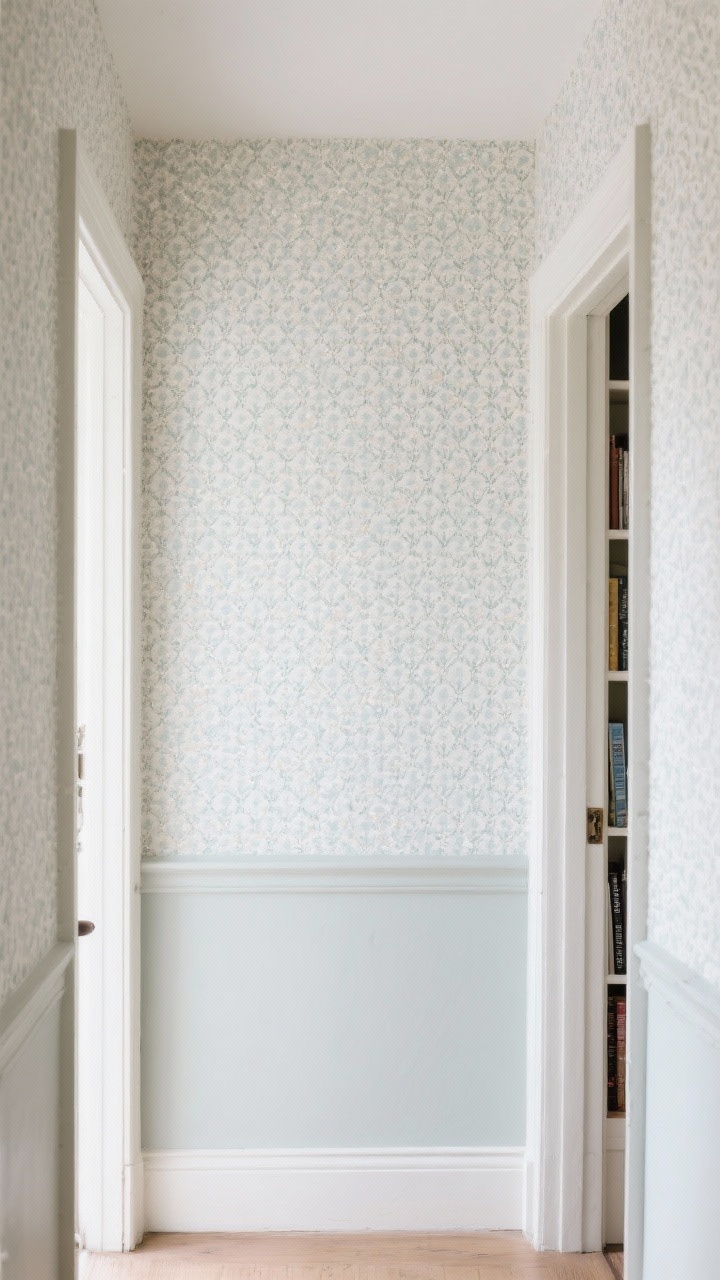
No paste, no mess, no heartbreak when you move out. Peel-and-stick wallpaper is perfect for adding pattern to entryways, powder rooms, or the back of a bookcase. It’s basically a giant sticker—fun, right?
Quick Tips For Clean Results
- Order 10–15% extra: Pattern matching eats rolls for breakfast.
- Smooth surface: Wipe walls and lightly sand bumpy spots.
- Start in the center of the wall for symmetry, then work outwards.
- Squeegee as you go to eliminate bubbles. A credit card works in a pinch.
FYI: If a whole wall feels intimidating, do just the upper half with a simple painted chair rail below. Instant cottagecore.
3. Upgrade Hardware For A Mini Glow-Up
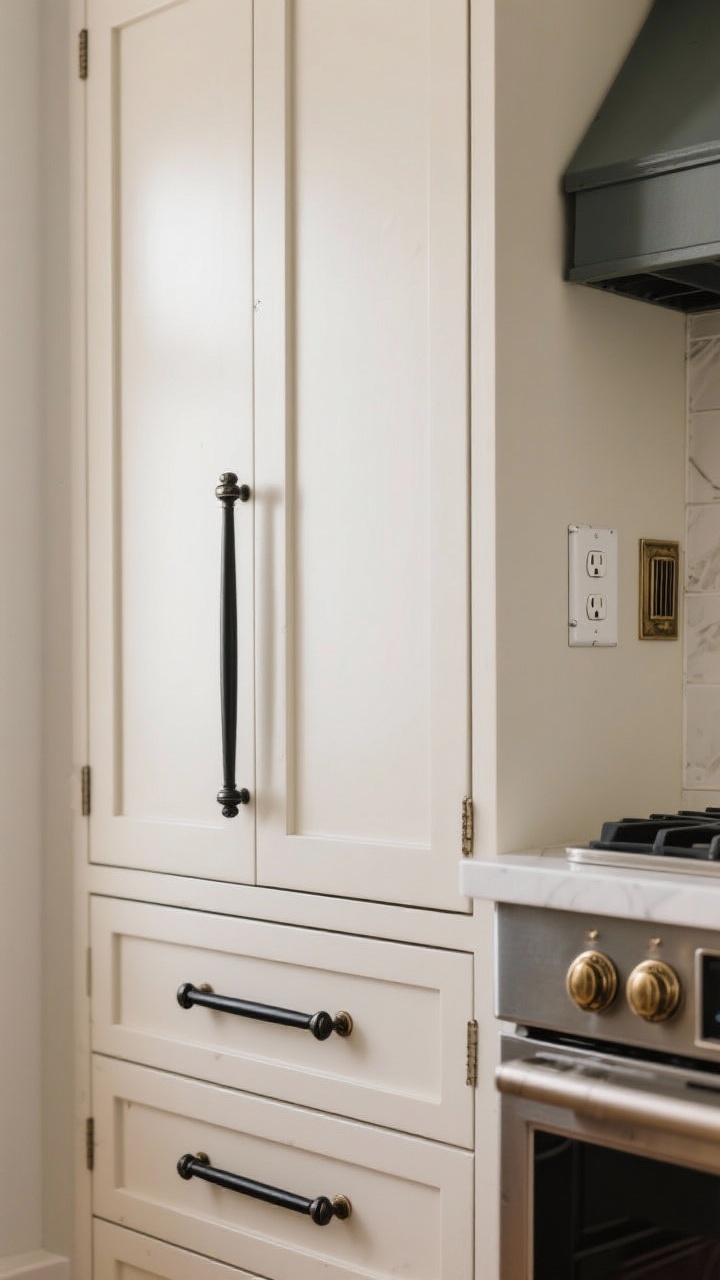
Swapping cabinet pulls, knobs, and door handles is the easiest makeover with the biggest payoff. Kitchens, bathrooms, even dressers look brand-new with better hardware.
Before You Buy
- Measure center-to-center distance on pulls so the new ones fit the old holes.
- Pick a finish that complements existing metals. Mixing is fine—just keep it intentional (e.g., black with antique brass).
- Use a template for drilling new holes if needed—most come with hardware kits.
Hot tip: Spray paint dated vent covers and switch plates to match for a cohesive look. Little details, big “whoa.”
4. Floating Shelves That Don’t Fall Down
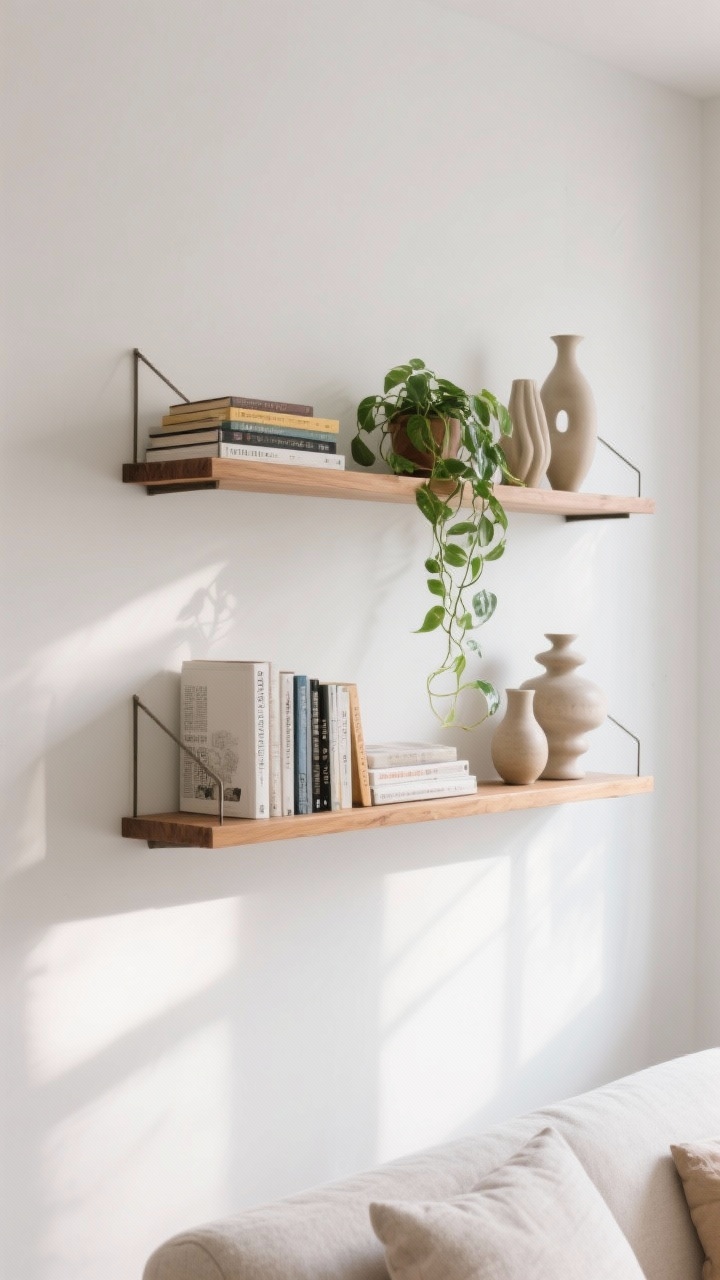
Floating shelves are the unicorn of storage—minimal, chic, and renter-friendly if you use anchors. Style them with plants, books, and a few sculptural pieces and your wall is basically a Pinterest board.
Install Without Tears
- Find studs if possible (stud finder apps help, but a real tool is better).
- Use heavy-duty anchors if you can’t hit a stud; check the weight rating.
- Level twice, drill once. Nothing ruins a vibe like crooked shelves.
- Leave space between shelves (12–16 inches) for breathing room and prettier styling.
Styling rule of thumb: Odd numbers of items and varied heights. Add a trailing plant and call it curated.
5. Frame Art Like You Mean It
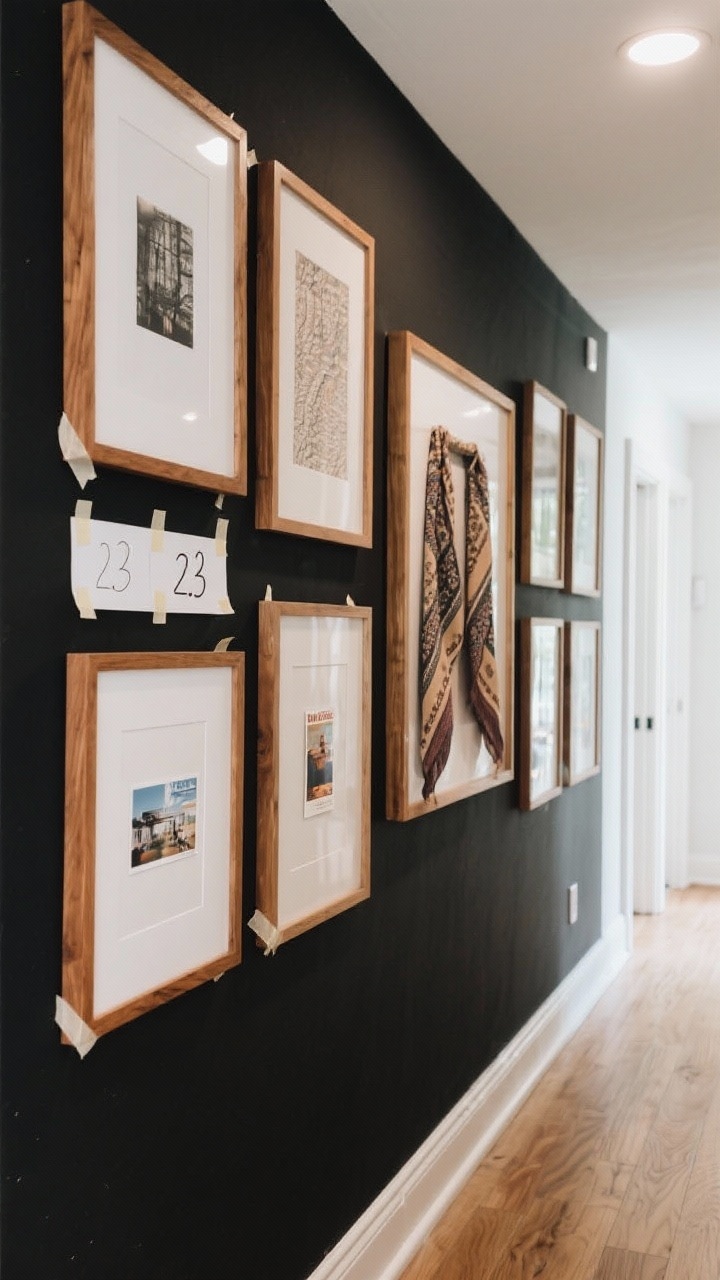
That stack of prints you’ve been “totally going to hang”? Time to give them a home. DIY gallery walls look high-end when you keep frames cohesive and layouts intentional.
Make It Foolproof
- Pick a palette: Black frames for modern, wood for warmth, gold for glam. Stick to 1–2 finishes.
- Use paper templates: Cut paper to frame size and tape them to the wall to plan spacing (2–3 inches is ideal).
- Command strips for renters—no Swiss cheese walls.
- Mat everything for a gallery feel. White mats make $12 prints look like $200 art.
Bonus idea: Frame unexpected things—vintage scarves, postcards, or sheet music. Instant conversation starter.
6. Build A Cozy Lamp With A New Shade
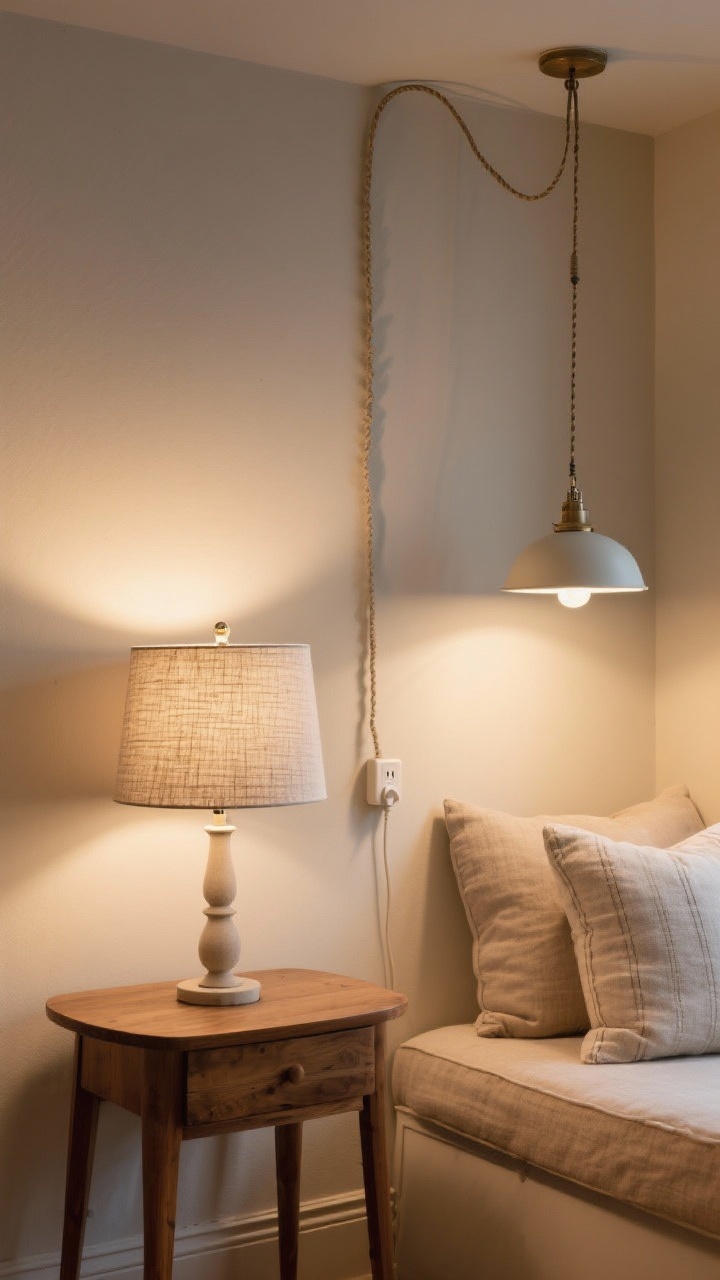
Lighting changes everything. Swapping a sad shade for something sculptural—or adding a plug-in pendant—instantly updates a room. You don’t need to hardwire, promise.
Two Easy Routes
- Lampshade refresh: Choose pleated fabric, linen drum, or a rattan shade for texture. Make sure the fitter (spider/uno/clip-on) matches your lamp.
- Plug-in pendant: Hang from a ceiling hook and swag to where you need it. Hide cords with a cord cover or paint them wall color.
Layer lighting: one overhead, one task (table lamp), one accent (sconce or lantern). Your space will feel 10x more considered—IMO, the secret to cozy.
7. Create A Statement Headboard On A Budget
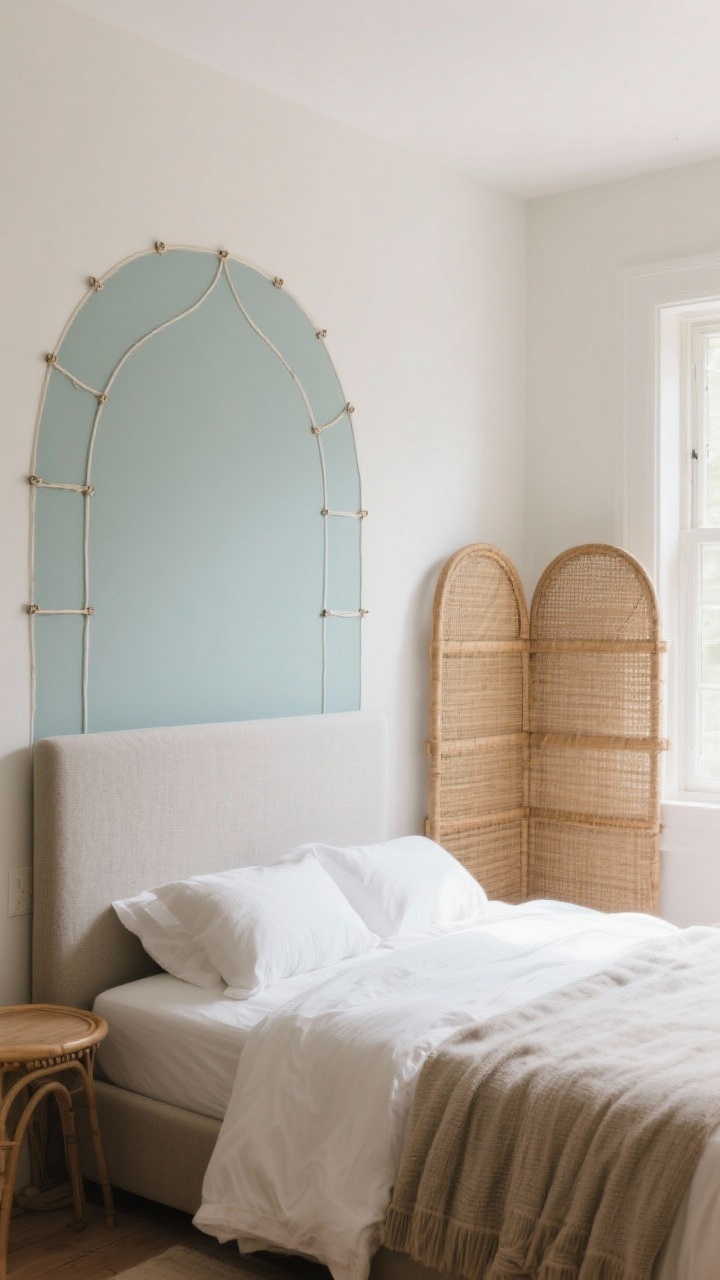
No headboard? No problem. A DIY headboard can be paint, fabric, or wood—choose your adventure. This is the project that makes bedrooms feel finished.
Three Beginner-Friendly Options
- Painted arch: Use a pencil, string, and pushpin to draw a perfect arc. Fill with contrasting paint for a dreamy, soft backdrop.
- Upholstered foam board: Wrap 2-inch foam and batting with fabric, then staple to plywood. Mount with French cleats for stability.
- Rattan screen hack: Place a folding rattan room divider behind your bed. Chic with zero tools.
Fabric tip: Go for performance textiles or tightly woven cottons—they resist lint and last longer.
8. Style A High-Impact Entry Shelf
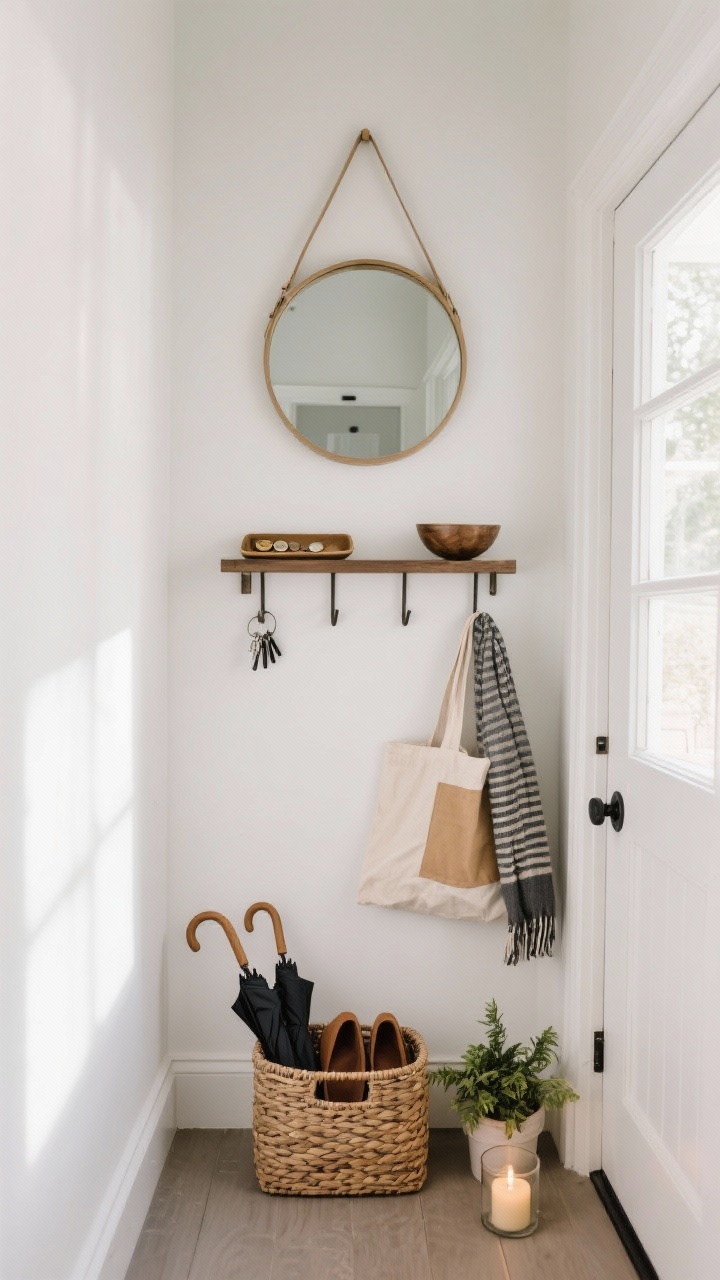
Your entry sets the tone. Even a tiny hallway can look pulled together with a simple wall shelf and hooks. Think: somewhere to drop keys, mail, and sunglasses without tossing them into the black hole of your tote.
What You Need
- Wall shelf: 24–36 inches wide. Add a small tray or bowl for keys.
- Hooks or peg rail: Mount at 60–66 inches high for easy reach.
- Mirror: Round mirrors soften tight spaces and bounce light.
- Basket: One for shoes or umbrellas. Hide the chaos. Look smug.
Finish with a plant (real or realistic faux) and a candle. It’ll smell like you have your life together, even if your laundry says otherwise.
9. Refresh Furniture With Contact Paper Or Paint
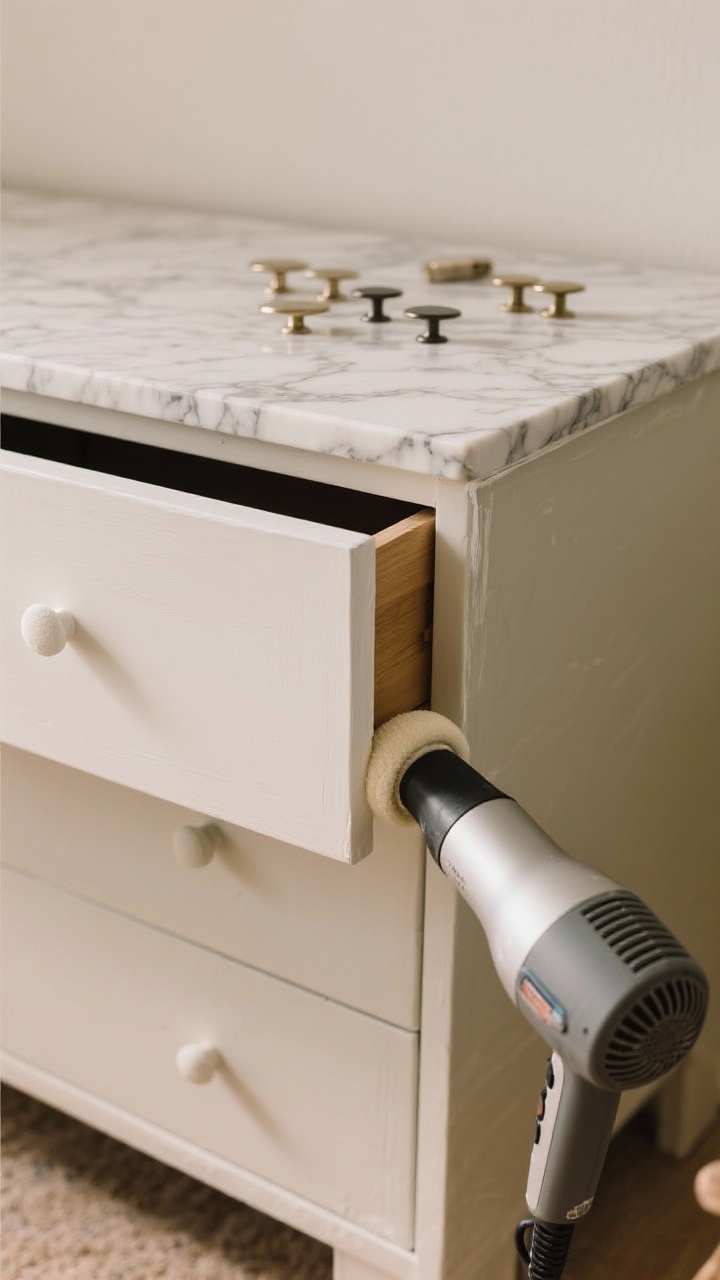
Before you donate that tired dresser, try a paint refresh or a contact paper hack. This is budget decorating at its finest—and yes, it holds up better than you think.
Two Simple Makeovers
- Painted dresser: Sand lightly, prime (especially if it’s laminate), and use a foam roller for smooth coats. Swap the hardware for instant polish.
- Contact paper top: Marble-look or wood-grain vinyl on tabletop surfaces adds durability and style. Wrap edges neatly and heat with a hairdryer for a tighter seal.
Pro move: Add furniture legs to a basic storage cabinet. A 4-inch lift makes it look custom and helps with cleaning.
10. Layer Textiles For A Designer Look
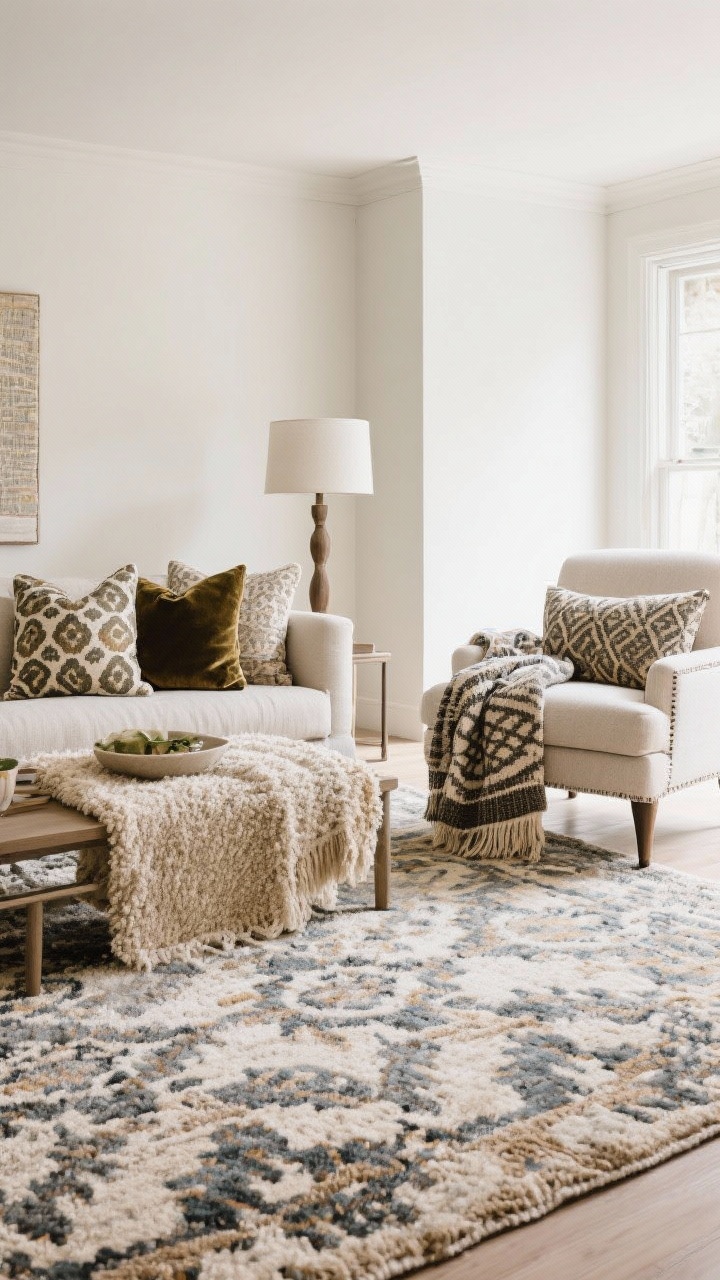
When in doubt, add texture. Throws, pillows, and rugs can change a room in an afternoon—no tools required. Pick a color story and mix patterns like a stylist.
Mix Patterns Without Fear
- 1 large-scale pattern (like a rug), 1 medium (pillows), 1 small (throw or lumbar).
- Keep colors cohesive: Choose 2–3 colors and repeat them across the room.
- Play with texture: Bouclé with linen, velvet with cotton, jute with wool. Contrast is key.
- Rug sizing: Front legs of furniture on the rug. Too-small rugs make rooms feel dinky—don’t do it.
FYI: A single oversized lumbar pillow on a bed looks luxe and saves you from pillow mountain. Your future self will thank you.
Bonus Prep & Safety Tips (Because We’re Responsible Adults)
- Measure twice, buy once. Especially for wallpaper and hardware spacing.
- Ventilate when painting or using adhesives. Open windows, fan on.
- Weight limits matter: Check shelf and anchor ratings before loading them with your ceramic collection.
- Test paint and wallpaper adhesive on a small area first to be safe on rental walls.
You don’t need to spend a fortune—or a weekend—to make your home feel intentional and stylish. Pick one of these projects, queue your favorite playlist, and start small. One win leads to another, and before you know it, your place will look like you definitely have a design plan—even if it’s just our little secret.
Explore More & Elevate Your Home
If you’re dreaming of stylish rooms, warm textures and beautiful details that transform your space, explore our Home Décor.
For soft evenings, slow routines and a home that feels like a warm hug, discover more ideas in Cozy Living.
If you’re ready for less chaos and more calm, find realistic routines and tidy-home solutions inside Organization.
For soft-life habits and everyday routines that feel good, visit our Home Lifestyle.
When you’re in the mood for glow-up projects and creative home upgrades, explore DIY & Makeovers.
And if you want your balcony, terrace or garden to feel just as cozy as your indoors, get inspired in Outdoor Living.