You don’t need a trust fund to make your home look high-end. You just need a few clever tricks, the right finishes, and a steady hand with a paintbrush. Ready to make your space look like a boutique hotel, not a dorm? Let’s go.
1. Create Custom “Built-Ins” With Flat-Pack Basics
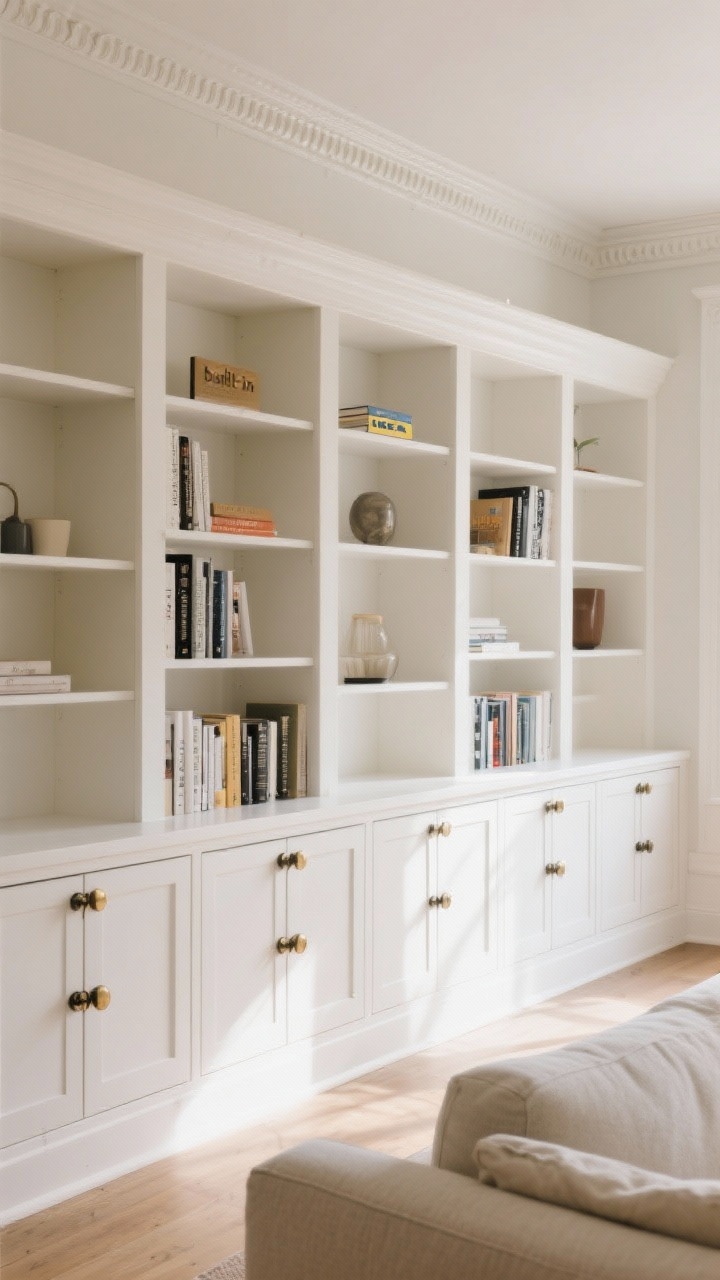
Designer built-ins? Gorgeous. Also: wildly pricey. Here’s the hack—get affordable bookcases (IKEA Billy or similar), then add a few strategic upgrades to fake the custom look.
How To Pull It Off
- Add height and heft: Stack units and secure to the wall. Top with MDF and crown molding so it meets the ceiling.
- Close the gaps: Use wood filler and caulk between units and along edges for that seamless, “was-this-always-here?” finish.
- Upgrade the hardware: Swap knobs/pulls for brushed brass or matte black to instantly elevate.
- Paint it all one color: Go tone-on-tone with the walls for a true built-in vibe.
FYI: A coat of semi-gloss makes it look like millwork, not flat-pack furniture.
2. Paint Doors and Trim in Moody, Luxe Tones
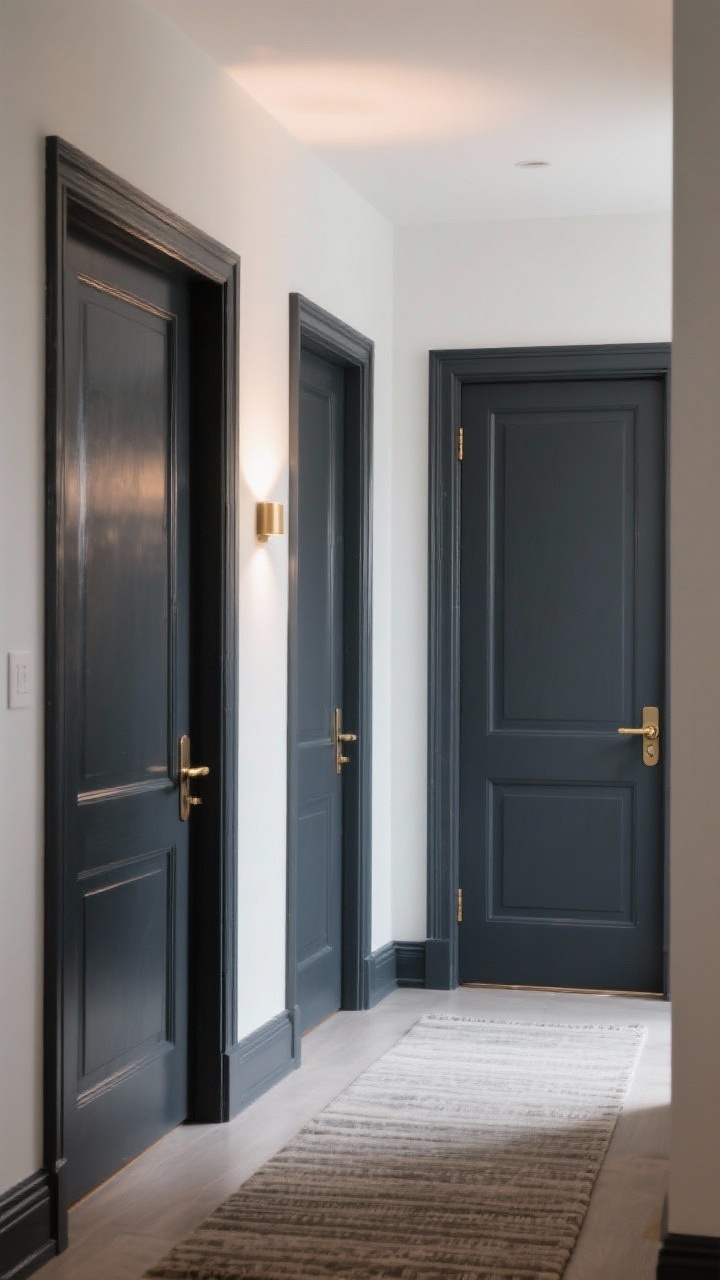
Want instant sophistication? Paint your interior doors and trim in a saturated color. Think charcoal, forest green, or deep navy. It’s the kind of detail that screams “custom” and whispers “I have taste.”
Pro Tips
- Finish matters: Use satin or semi-gloss for durability and that subtle sheen.
- Unify your palette: Paint doors, trim, and even baseboards the same shade for a modern, gallery-style look.
- Swap door hardware: Choose lever handles or minimal knobs in a high-quality finish (brushed brass or antique bronze).
Bonus: Dark doors hide scuffs, so your entry stays chic with minimal effort.
3. Frame Digital Art Like a Gallery
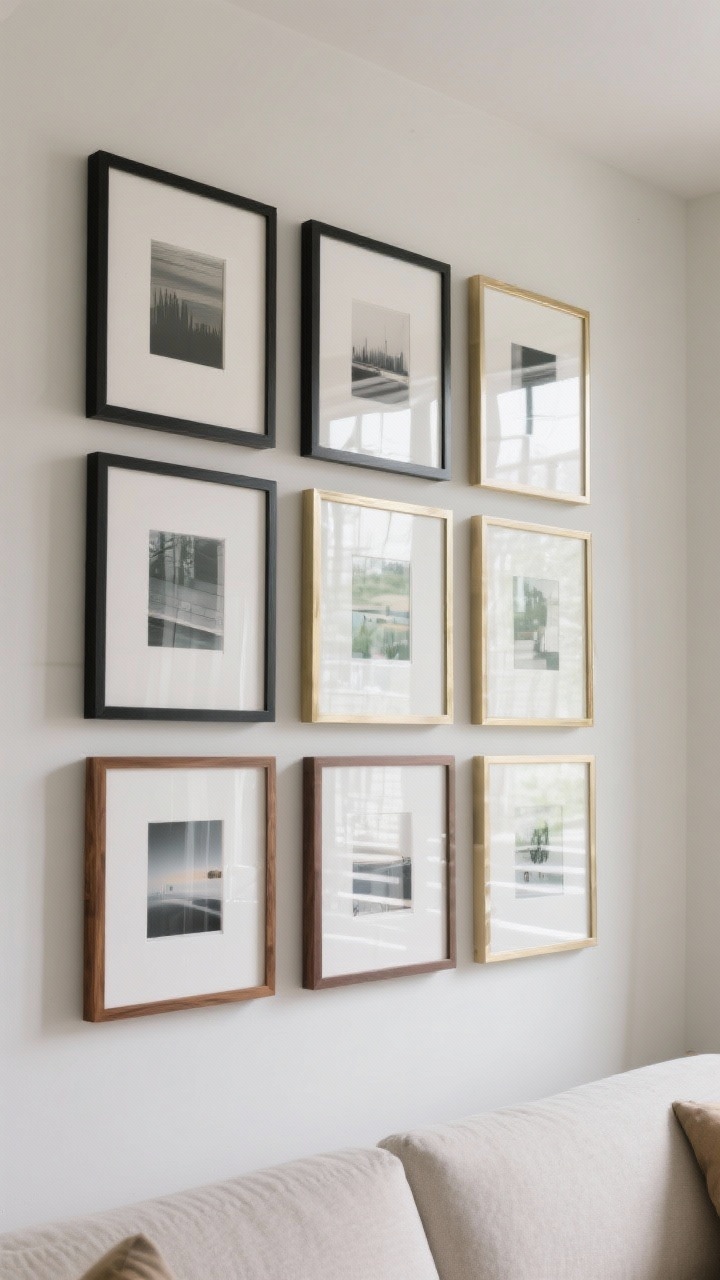
Original art is amazing but doesn’t always fit the budget. The workaround? High-res digital prints + real frames + oversized mats. The mat is what makes it look expensive, not the price of the print.
What To Do
- Use thick mats: Go 3–4 inches wide. It gives breathing room and adds that gallery vibe.
- Choose real glass or acrylic: Skip flimsy plexi. UV acrylic is a sweet spot.
- Mix frame finishes: Black, walnut, and brass play nicely together while still feeling curated.
- Hang intentionally: Use consistent spacing (2–3 inches) and eye-level centers (57–60 inches from floor).
IMO, a grid of 6–9 frames over a sofa looks like you hired a stylist.
4. Swap Standard Lighting for Statement Fixtures
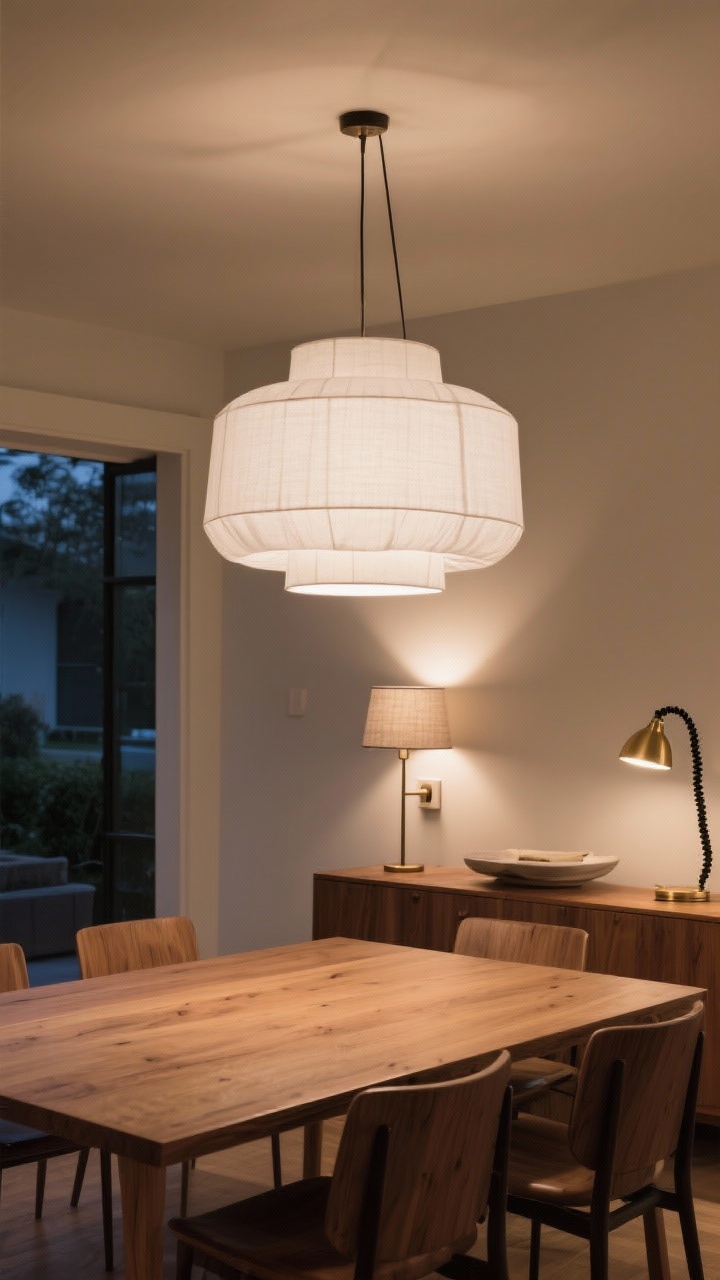
Nothing dates a space faster than a builder-grade boob light. Replace it with something sculptural—drum shades, globe pendants, or a linen flush mount.
High-End Lighting Tricks
- Scale up: Bigger looks more custom. Over a dining table, pick a fixture 1/2 to 2/3 the table width.
- Warm bulbs only: Aim for 2700–3000K, dimmable if possible. Harsh blue light ruins everything.
- Layer the light: Combine ceiling lights with sconces and table lamps for that cozy, hotel feel.
- DIY plug-in sconces: Use cord covers and fabric shades. No electrician, all the drama.
Swapping out one main fixture can make the entire room feel intentional.
5. Style With Oversized Branches (Yes, Branches)
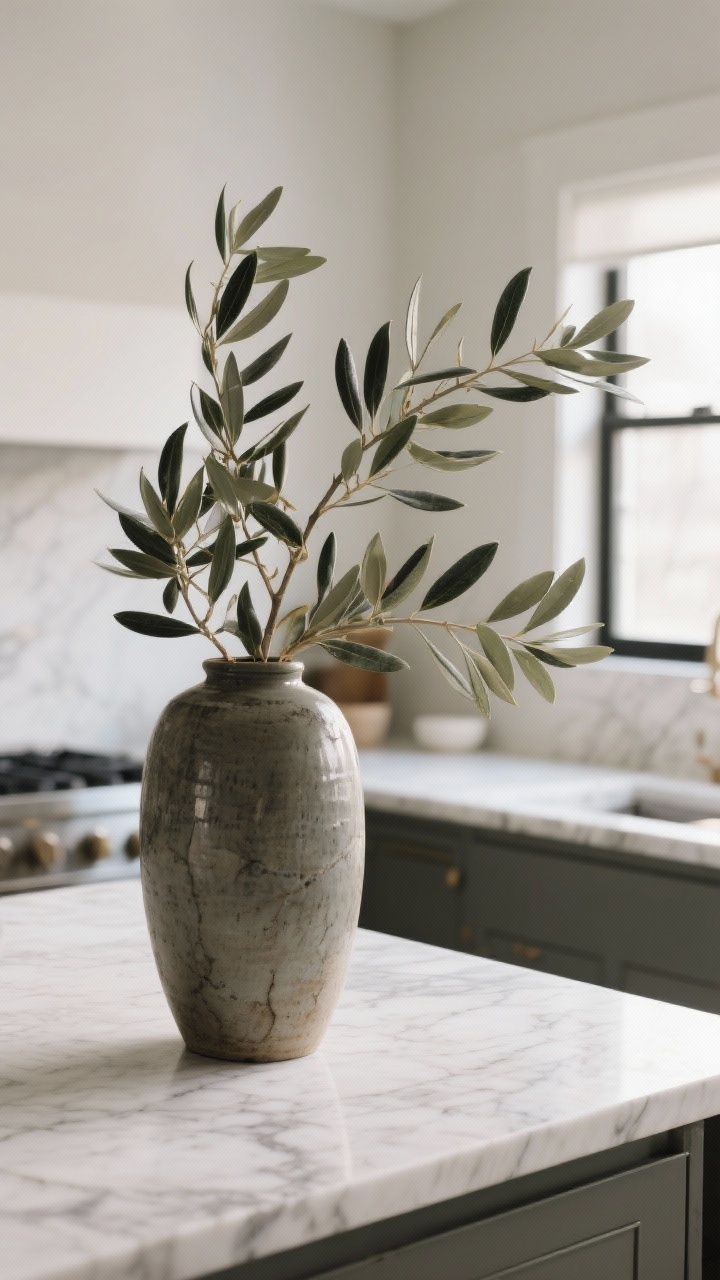
Florals are lovely, but large-scale branches feel editorial and luxe—like you borrowed from a florist who knows famous people. Think olive, magnolia, or eucalyptus.
How To Nail the Look
- Go big: Use a tall, heavy vase and asymmetric branches that reach up and out.
- Keep it simple: One variety per vase. It’s cleaner and more upscale.
- Fake it well: Quality faux stems exist. Bend the wired stems for a natural drape.
Place them on an entry table, a kitchen island, or a low media console for instant impact.
6. Layer Textures Like a Designer
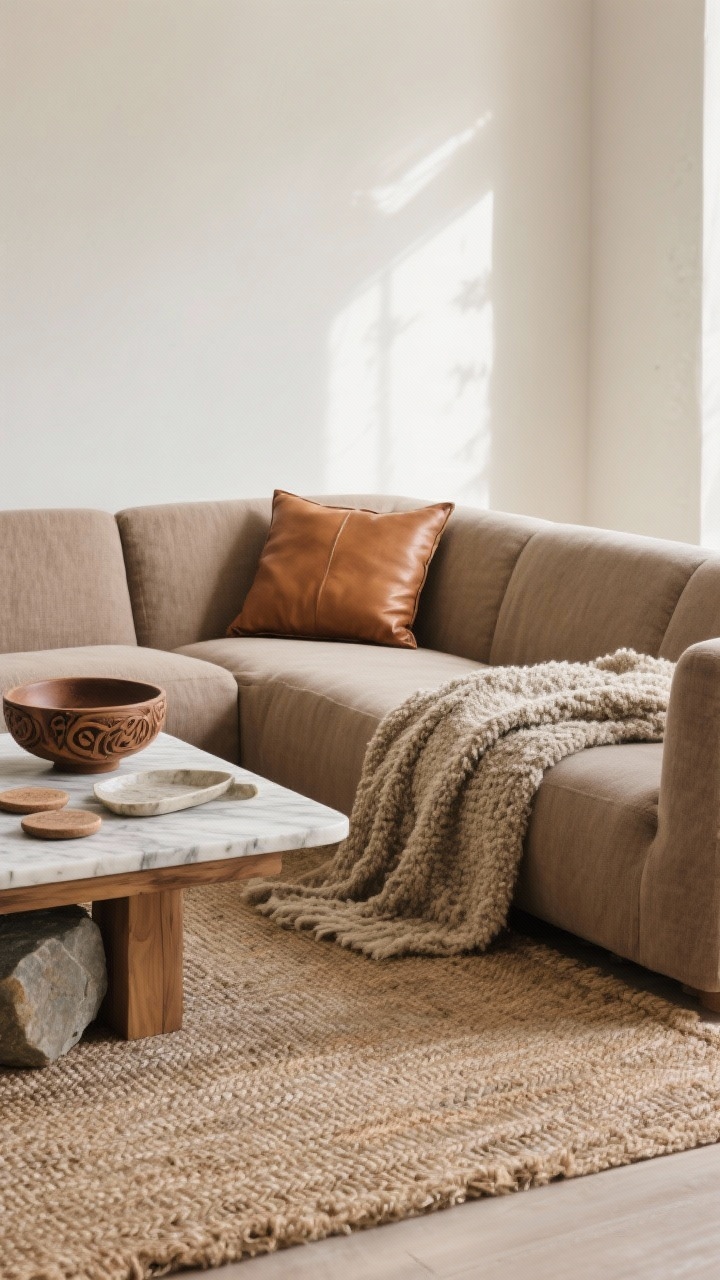
Texture is how you make a neutral room feel expensive, not boring. Mix materials: linen, boucle, wood, stone, velvet, woven grasses. The goal? Depth without chaos.
Designer-Look Formula
- Three textures per zone: Example: linen sofa, leather pillow, nubby throw.
- One grounding element: A jute or wool rug keeps everything cohesive.
- Add natural accents: Stone coasters, marble trays, wood bowls—little things, big impact.
- Edit, then edit again: Negative space is luxury. Don’t clutter your surfaces.
Think quiet luxury: it’s less about color, more about touchable surfaces.
7. Fake Stone and Plaster Finishes
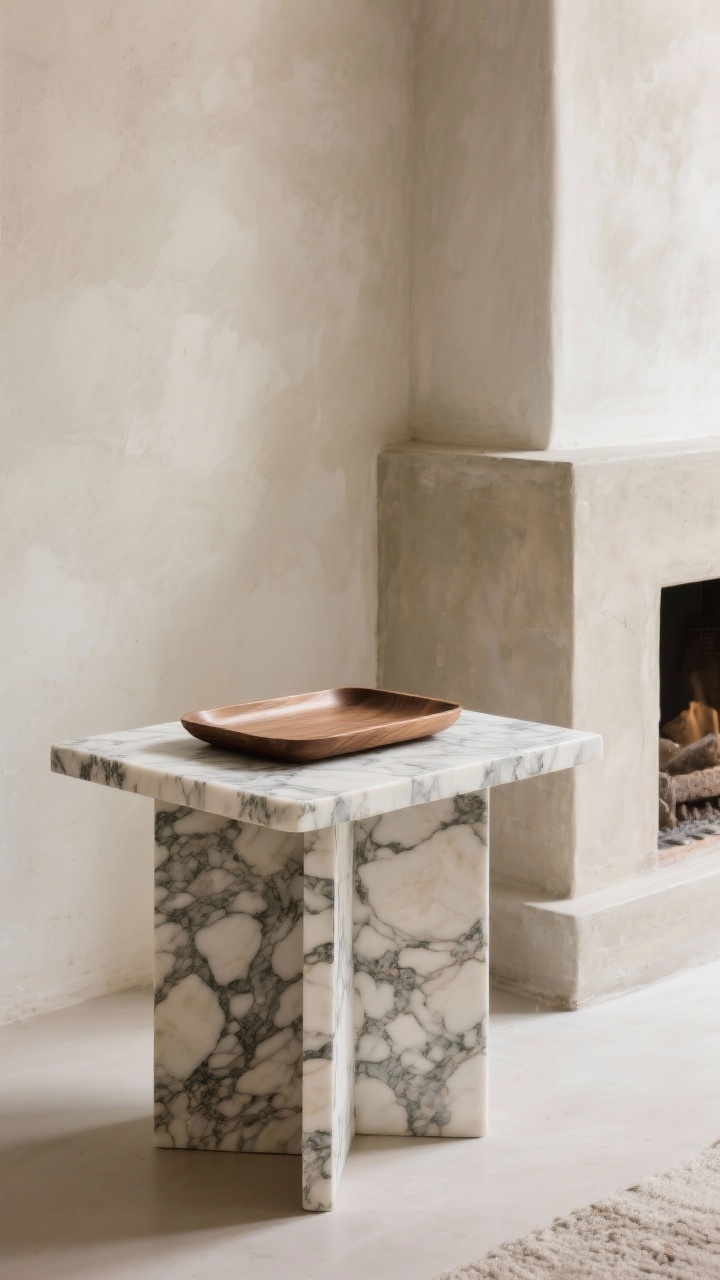
Plaster and stone finishes look custom and old-world chic. And yes, you can DIY them without destroying your walls.
Easy, Luxe Finishes
- Plaster-look walls: Use a limewash or mineral paint for that soft, cloudy texture. No perfect strokes needed—it’s meant to be organic.
- Stone-effect furniture: Wrap a basic side table in stone-look contact paper or use a Roman clay product for depth.
- Marbleized trays: Paint a wooden tray with marble-effect paint kits, then seal with clear polyurethane.
- Concrete look: Apply a microcement or concrete skim coat to a dated fireplace surround for modern minimalism.
Seal everything properly so it reads “artisan” not “arts-and-crafts.”
8. Curate Vignettes With the Rule of Three
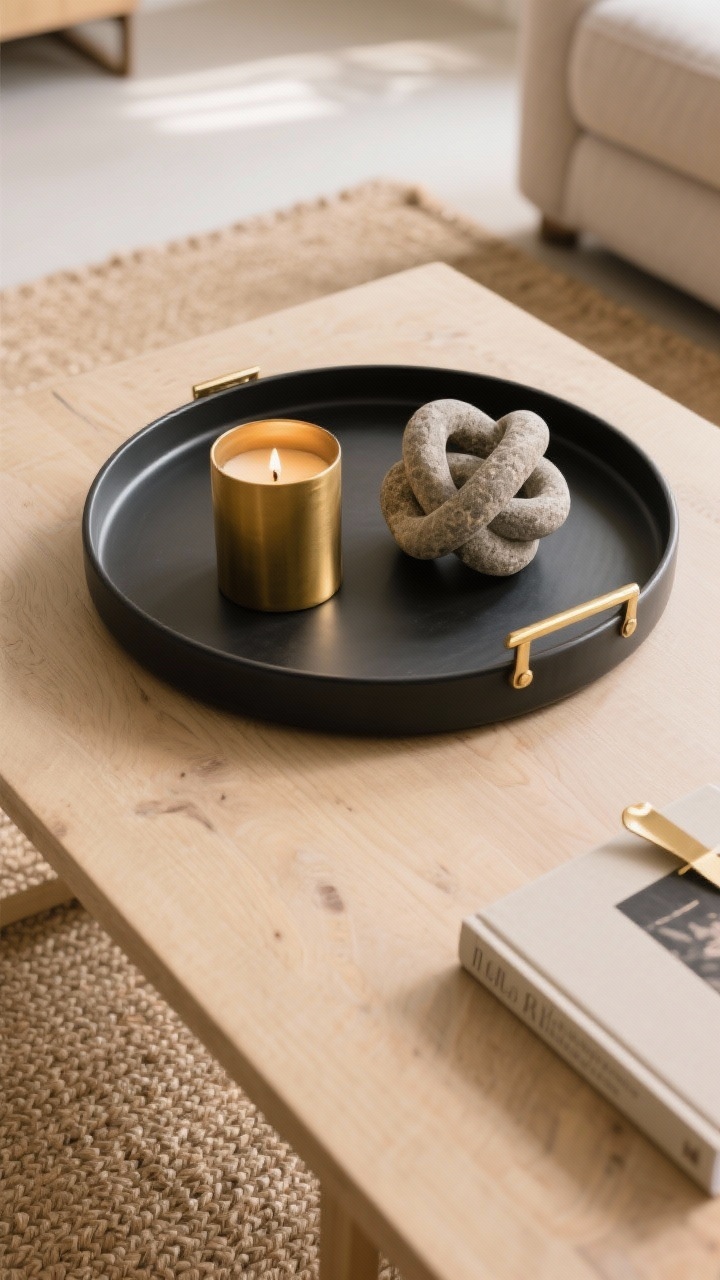
Styling is where the magic (and the “wow, that looks expensive”) happens. Use the Rule of Three and vary height, shape, and texture for balanced little moments.
Vignette Recipes
- Classic console: Tall lamp + stacked books + sculptural object.
- Coffee table: Low tray + candle + organic object (coral, wood chain, stone knot).
- Nightstand: Small vase of greenery + carafe + book with a pretty bookmark.
- Keep a color thread: Repeat one tone (e.g., brass) across your objects for cohesion.
- Leave breathing room: White space = upscale. Clutter = stress.
And yes, you can rotate decor seasonally without buying new things—just shop your house.
9. Upgrade Textiles: Curtains, Pillows, and Throws That Lie
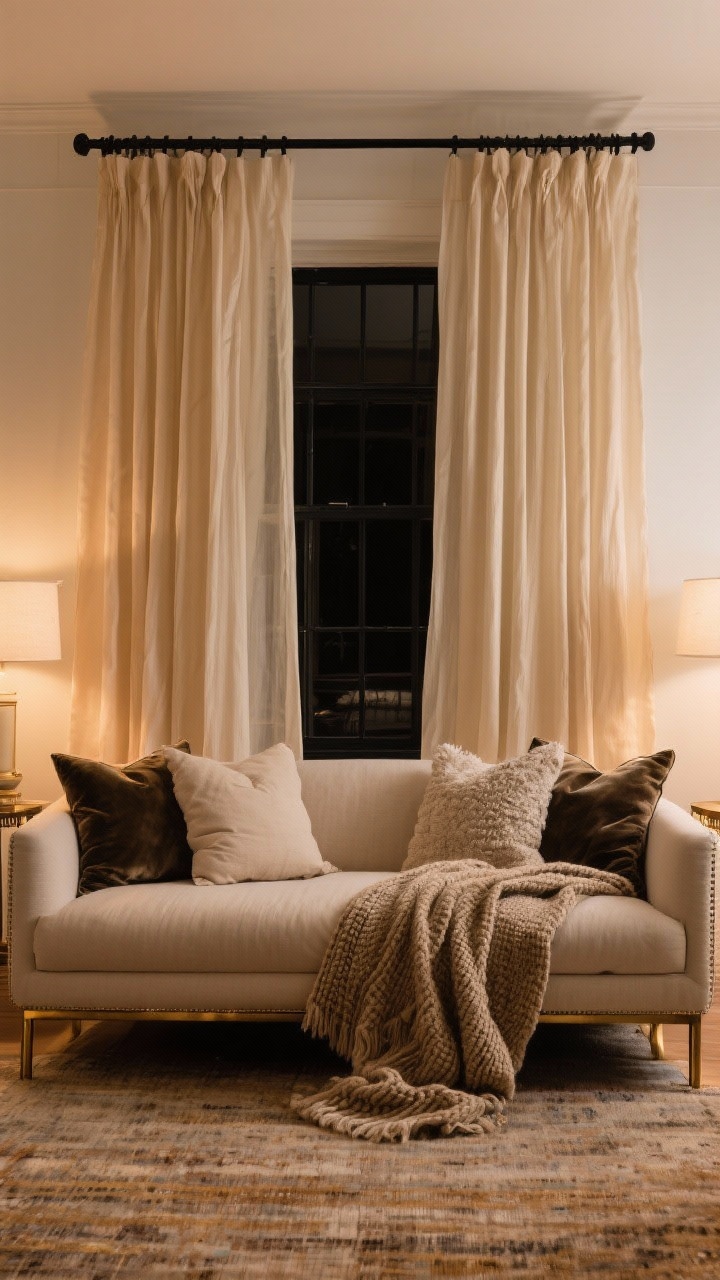
Cheap fabrics give themselves away. But a few strategic swaps can make your whole room feel premium. Focus on window treatments and pillows—they’re the silent status symbols.
Textile Upgrades That Matter
- Hang curtains high and wide: Mount rods 6–10 inches above the frame and extend past the window so panels cover wall, not glass. Instant “taller ceilings.”
- Pick lined panels: Lined linen or cotton drapes hang better and look richer.
- Feather or down inserts: For pillows, size up the insert by 2 inches. Chop if you must, but plump is key.
- Mix materials: Linen, velvet, and boucle play well together. Avoid all-polyester shine.
- Throws with weight: Choose woven or knitted throws that actually drape, not stiff blankets that fight back.
Small upgrades here make everything else in the room look more intentional. It’s wild.
Quick Shopping Checklist
- Curtain rods with real weight (matte black or brass)
- Lined linen/cotton panels
- Feather/down pillow inserts + textured covers
- One hero throw for the sofa
Final Touches That Always Read Expensive
- Consistent finishes: Repeat 2–3 metal/wood tones throughout the space.
- Hide the cords: Cord covers, cable boxes tucked in baskets, power strips mounted under furniture.
- Big rugs only: Front legs of furniture on the rug—or go larger. Tiny rugs look apologetic.
- Scent matters: A subtle diffuser or candle makes the whole room feel pulled together. Weird but true.
There you go—nine DIY decor hacks that deliver major luxe energy without the major spend. Pick one or two to start, then layer from there. And if anyone asks which designer you used? Smile and say, “Oh, just a friend.”
Explore More & Elevate Your Home
If you’re dreaming of stylish rooms, warm textures and beautiful details that transform your space, explore our Home Décor.
For soft evenings, slow routines and a home that feels like a warm hug, discover more ideas in Cozy Living.
If you’re ready for less chaos and more calm, find realistic routines and tidy-home solutions inside Organization.
For soft-life habits and everyday routines that feel good, visit our Home Lifestyle.
When you’re in the mood for glow-up projects and creative home upgrades, explore DIY & Makeovers.
And if you want your balcony, terrace or garden to feel just as cozy as your indoors, get inspired in Outdoor Living.