Your bathroom can spark joy… or start a silent panic when guests say, “Mind if I use it?” Let’s fix that. These eight cleaning hacks are low-effort, high-impact, and won’t turn your Saturday into a scrubathon. Ready to make tile sparkle and chrome shine like you actually have it together? Let’s go.
1. Steam First, Scrub Less
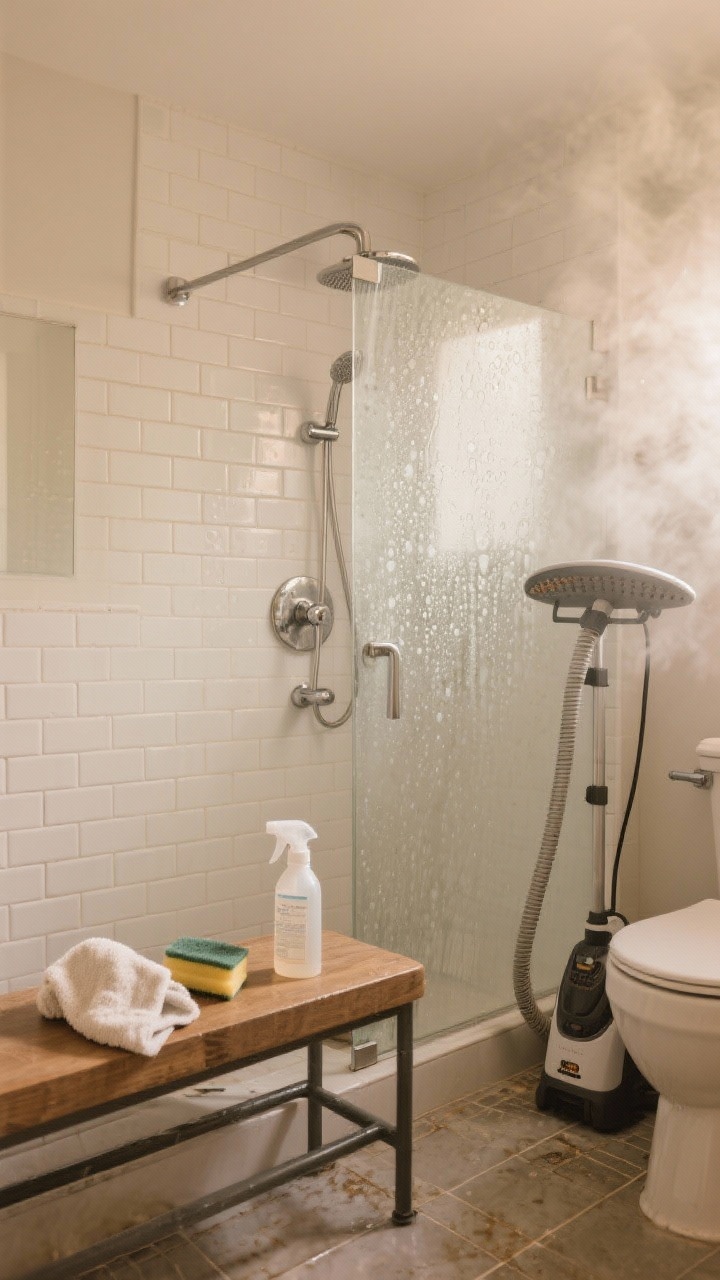
Before you touch a sponge, turn your shower into a mini spa—for the grime. Run the hottest shower for 5–10 minutes (door closed, fan off). The steam loosens soap scum and softens mineral buildup, so everything wipes off easier.
How to Do It
- Pre-steam the room, then spray surfaces with your cleaner of choice.
- Let it sit for 5–7 minutes so it can actually work (FYI, contact time matters).
- Use a microfiber cloth or sponge to wipe away grime—minimal elbow grease required.
Bonus: If you own a garment steamer, it’s amazing for faucets, grout lines, and the toilet base. Feels a little extra, but honestly, it’s a game-changer.
2. The Dawn + Vinegar Power Couple
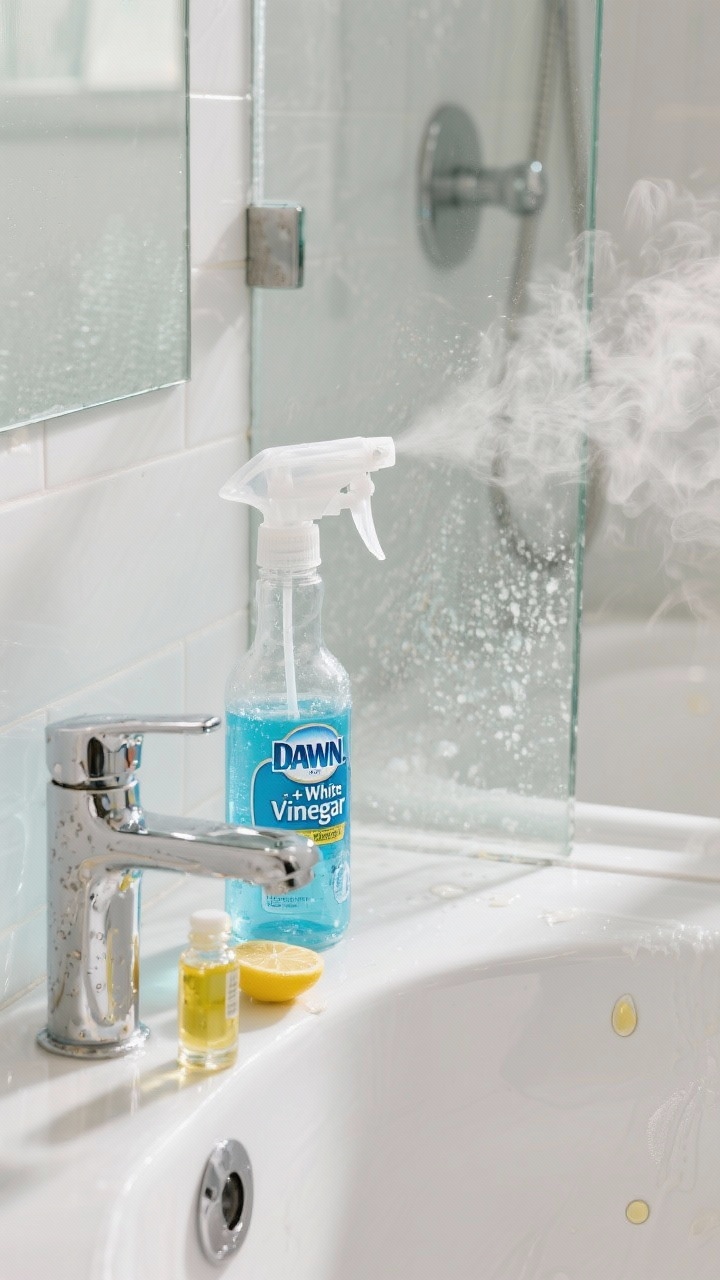
Soap scum has met its match. Mix equal parts blue Dawn dish soap and white vinegar in a spray bottle (warm the vinegar first for better results). This duo melts through shower gunk like it’s auditioning for a cleaning commercial.
Where It Shines
- Glass doors: Spray, wait 10 minutes, then wipe with a squeegee or microfiber.
- Tub rings: Hit the line, wait, then rinse—the ring peaces out.
- Faucets: Breaks down hard water spots without scratching.
Pro tip: Add a few drops of lemon essential oil if the vinegar vibe isn’t your thing.
3. Shaving Cream vs. Mirror Fog (And Mystery Smears)
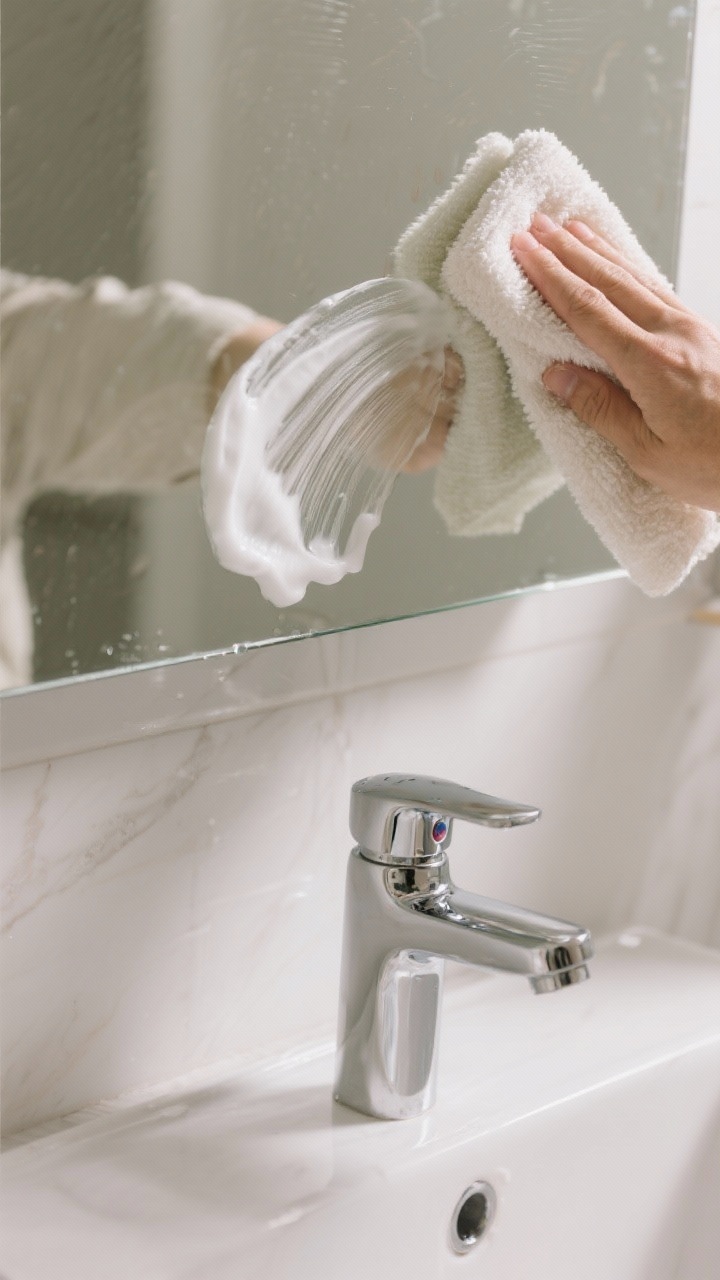
Yes, shaving cream cleans mirrors and helps prevent fog. Rub a thin layer on the mirror, let it sit for a minute, then buff with a dry microfiber cloth. You’ll get a streak-free shine and fog resistance for a week or two.
Extra Wins
- Chrome polish: Buff leftover cream onto faucets for a quick shine.
- Makeup smudges: Cuts through greasy fingerprints and eyeliner swipes fast.
Just skip gel formulas—they’re a sticky no. Classic foam only.
4. Baking Soda “Grout Grout Baby” Paste

Grout looking… vintage in a bad way? Mix baking soda + hydrogen peroxide into a paste (think toothpaste texture). Spread it into grout lines with a toothbrush and let sit 10–15 minutes. Scrub lightly and rinse.
Why It Works
- Baking soda = gentle abrasive for lifting stains.
- Hydrogen peroxide = mild brightener to revive dingy grout.
For extra oomph, finish with a grout sealer once dry. Future-you will thank you during the next mop session.
5. The Toilet Bomb Trick (Effervescent Clean)
Store-bought tablets are fine, but DIY “toilet bombs” are oddly satisfying and effective. Mix 1 cup baking soda, 1/4 cup citric acid, and 1–2 tbsp dish soap until sandy. Press into silicone molds and let dry overnight. Drop one in, watch it fizz, then brush and flush.
Fast-Track Version
- No time? Toss in 1/2 cup baking soda, followed by 1/2 cup white vinegar. Let it bubble for 10 minutes, then scrub.
- Target areas: Under the rim and around the waterline—use a stiff brush or pumice stone for mineral rings.
And please store DIY tablets in an airtight jar away from humidity (and curious kiddos).
6. Squeegee Routine = Mold Prevention
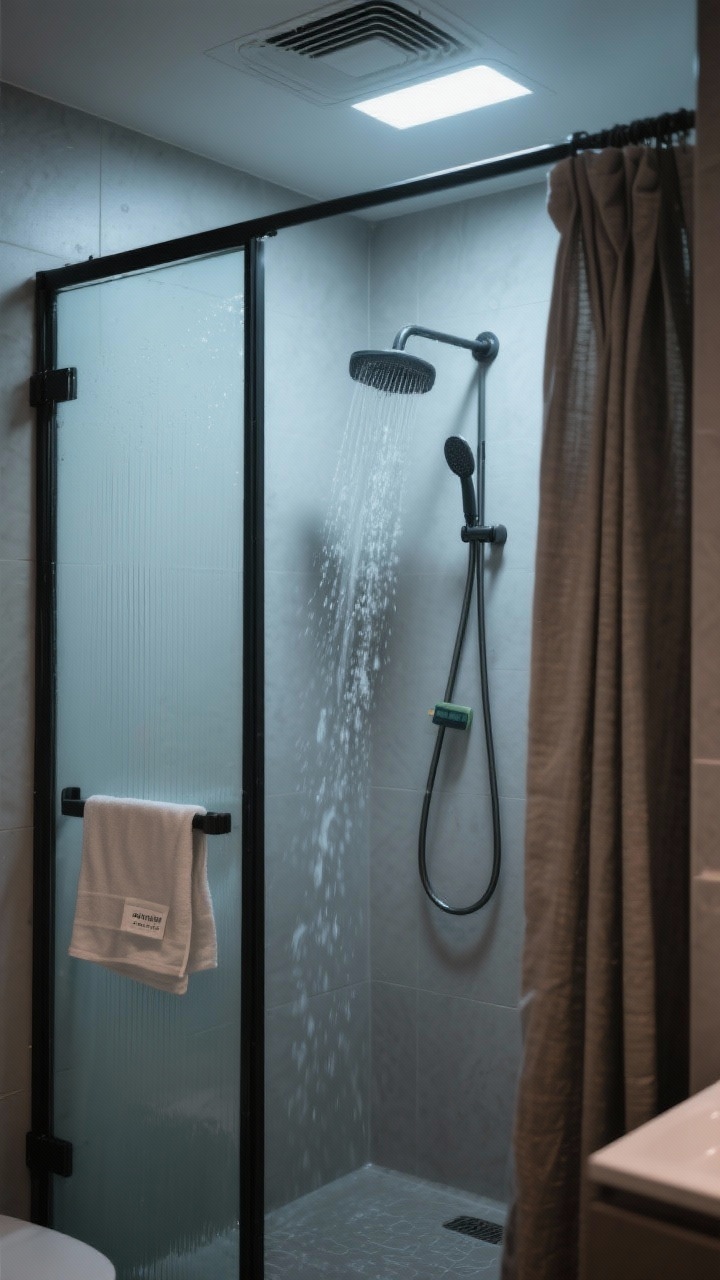
Want your shower to stay clean with 90% less effort? Make a 30-second squeegee routine non-negotiable. After the last shower of the day, squeegee walls and glass, then leave the curtain open or doors cracked to dry.
Set Yourself Up
- Hook a squeegee inside the shower so there’s zero barrier to using it.
- Run the exhaust fan for 20 minutes post-shower to kick out humidity.
- Wash liners monthly; toss fabric curtains in the washer with a towel to scrub them clean.
IMO, this is the single easiest hack to prevent mold, mildew, and future deep-cleaning marathons.
7. Microfiber + Rubbing Alcohol = Spotless Chrome
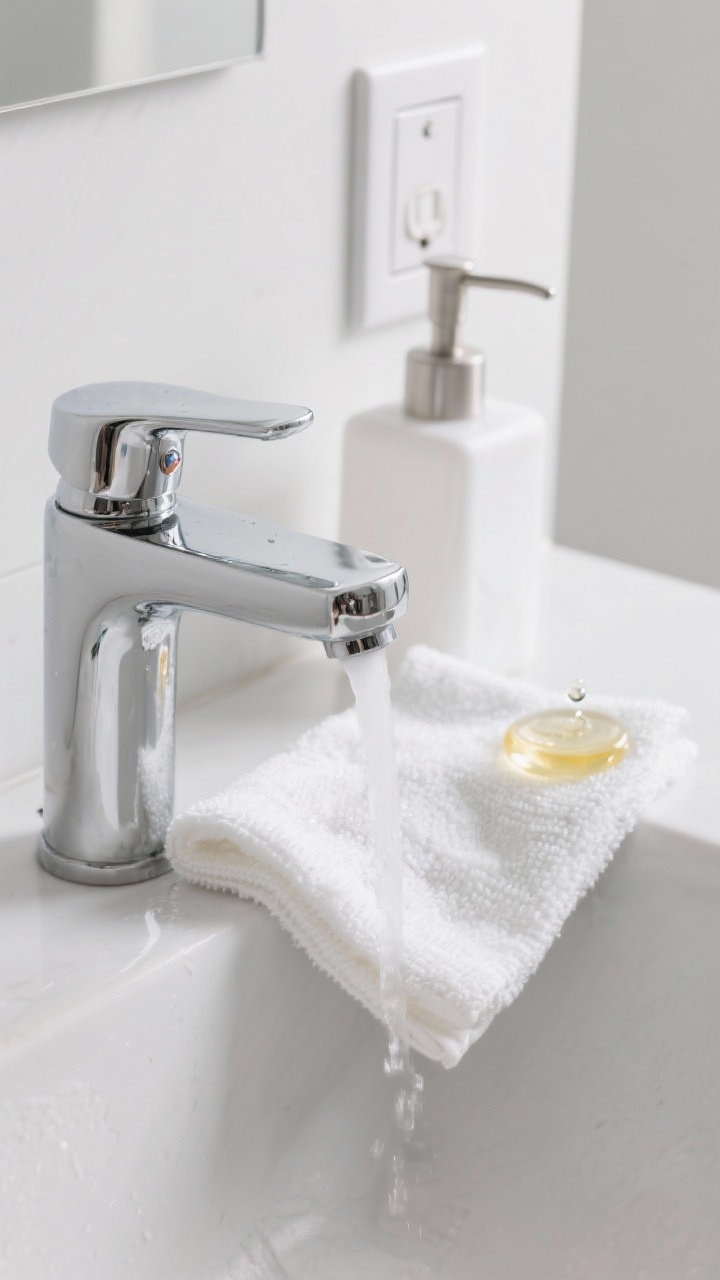
Fingerprints on faucets and soap pumps are oddly personal. For a quick shine, spritz a microfiber cloth with rubbing alcohol and wipe down metal fixtures. It cuts water spots, disinfects, and dries instantly—no streaks.
Make It a 2-Minute Reset
- Do faucets, the flush handle, and light switches in one go.
- Use a separate cloth for the mirror if the alcohol is already out—fast and streak-free.
- Finish with a tiny drop of baby oil on a cloth to polish stainless and reduce future spots.
FYI: Avoid alcohol on painted surfaces. It can dull the finish. Stick to fixtures, glass, and tile.
8. The “Top-Down, Left-to-Right” Speed Clean System
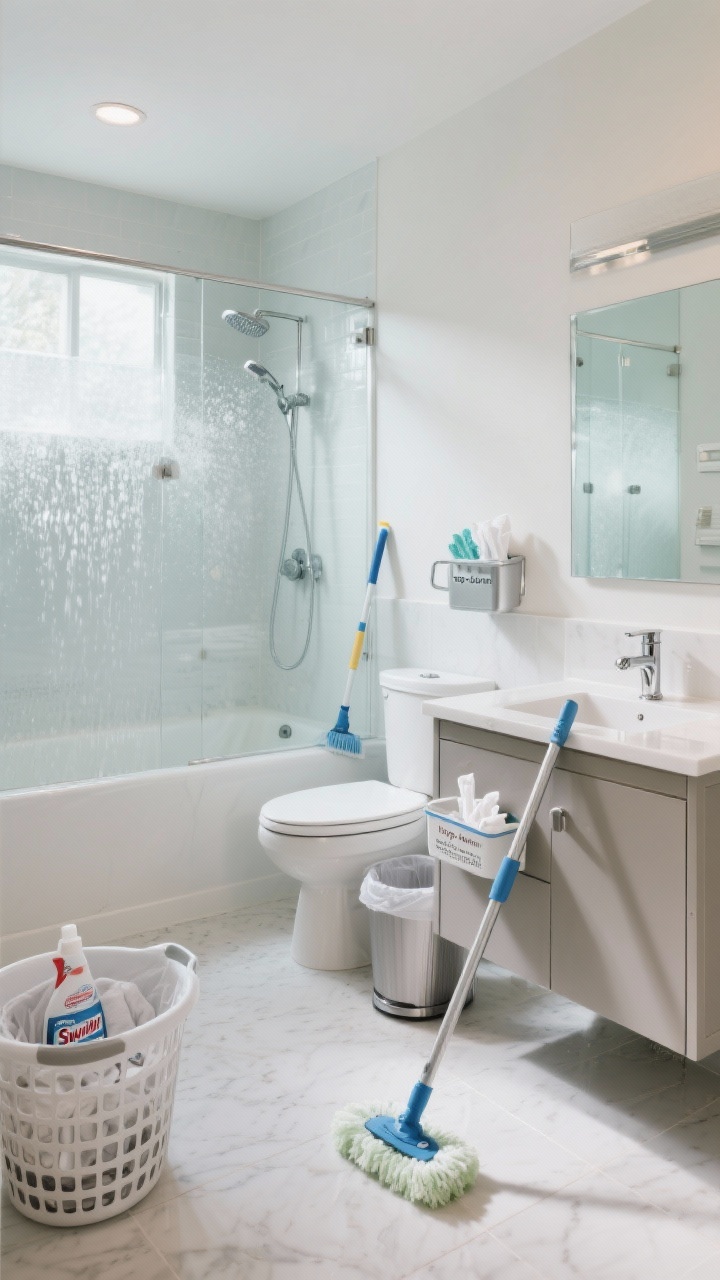
You can absolutely clean your bathroom in under 15 minutes if you stop cleaning randomly. Work top to bottom, left to right, and let products do the heavy lifting while you multitask.
The 15-Minute Flow
- Minute 1–2: Clear counters and floor (laundry basket grab-and-go).
- Minute 3–4: Pre-steam if you can; spray shower walls, glass, and tub with your cleaner.
- Minute 5: Spray sink, faucet, and counter. Add toilet bowl cleaner and let sit.
- Minute 6–8: Wipe mirrors and fixtures (alcohol + microfiber). Do switches and door handles.
- Minute 9–10: Scrub and rinse shower/tub—squeegee to finish.
- Minute 11–12: Brush the toilet (hit under the rim), wipe the exterior with disinfecting wipes or cloth.
- Minute 13–14: Wipe sink and counter; replace items neatly. Quick polish on chrome.
- Minute 15: Spot-mop or Swiffer the floor and empty the trash.
Keep a small cleaning caddy under the sink so everything’s within reach. Not glamorous, but super efficient.
Bonus Mini-Hacks (Because You’re Thorough)
- Toothbrush detailer: Use an old brush to clean faucet bases, drain rims, and shower door tracks.
- Vent refresh: Pop off the exhaust cover and vacuum the dust—better airflow, less moisture, less mildew.
- Drawer liners: Add washable liners under the sink to catch leaks and spills. Chic and practical.
There you have it—eight bathroom cleaning hacks that actually work and don’t require a hazmat suit. Pick two to start, make them a habit, and your bathroom will stay guest-ready with minimal effort. Clean vibes, unlocked.
Discover free printable activities, coloring pages, and learning fun screen-free and perfect for cozy days at home.
Visit FreeKidsHub →Explore More & Elevate Your Home
If you’re dreaming of stylish rooms, warm textures and beautiful details that transform your space, explore our Home Décor.
For soft evenings, slow routines and a home that feels like a warm hug, discover more ideas in Cozy Living.
If you’re ready for less chaos and more calm, find realistic routines, systems and tidy-home solutions inside Cleaning & Organization.
For soft-life habits, everyday rituals and feminine home routines that feel good, visit our Home Lifestyle.
When you’re in the mood for glow-up projects, quick transformations and creative home upgrades, explore DIY & Makeovers.
And if you want your balcony, terrace or garden to feel just as cozy as your indoors, get inspired in Garden & Outdoor Living.